Radiolaria are beautiful little protozoa. I learned about them when reading about the biological artist Ernst Haeckel, who portrayed them beautifully.
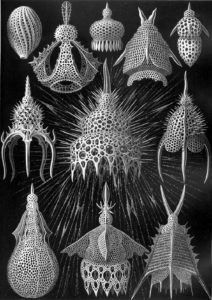 (image from The Scientist Magazine)
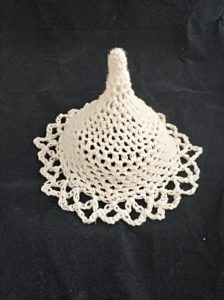
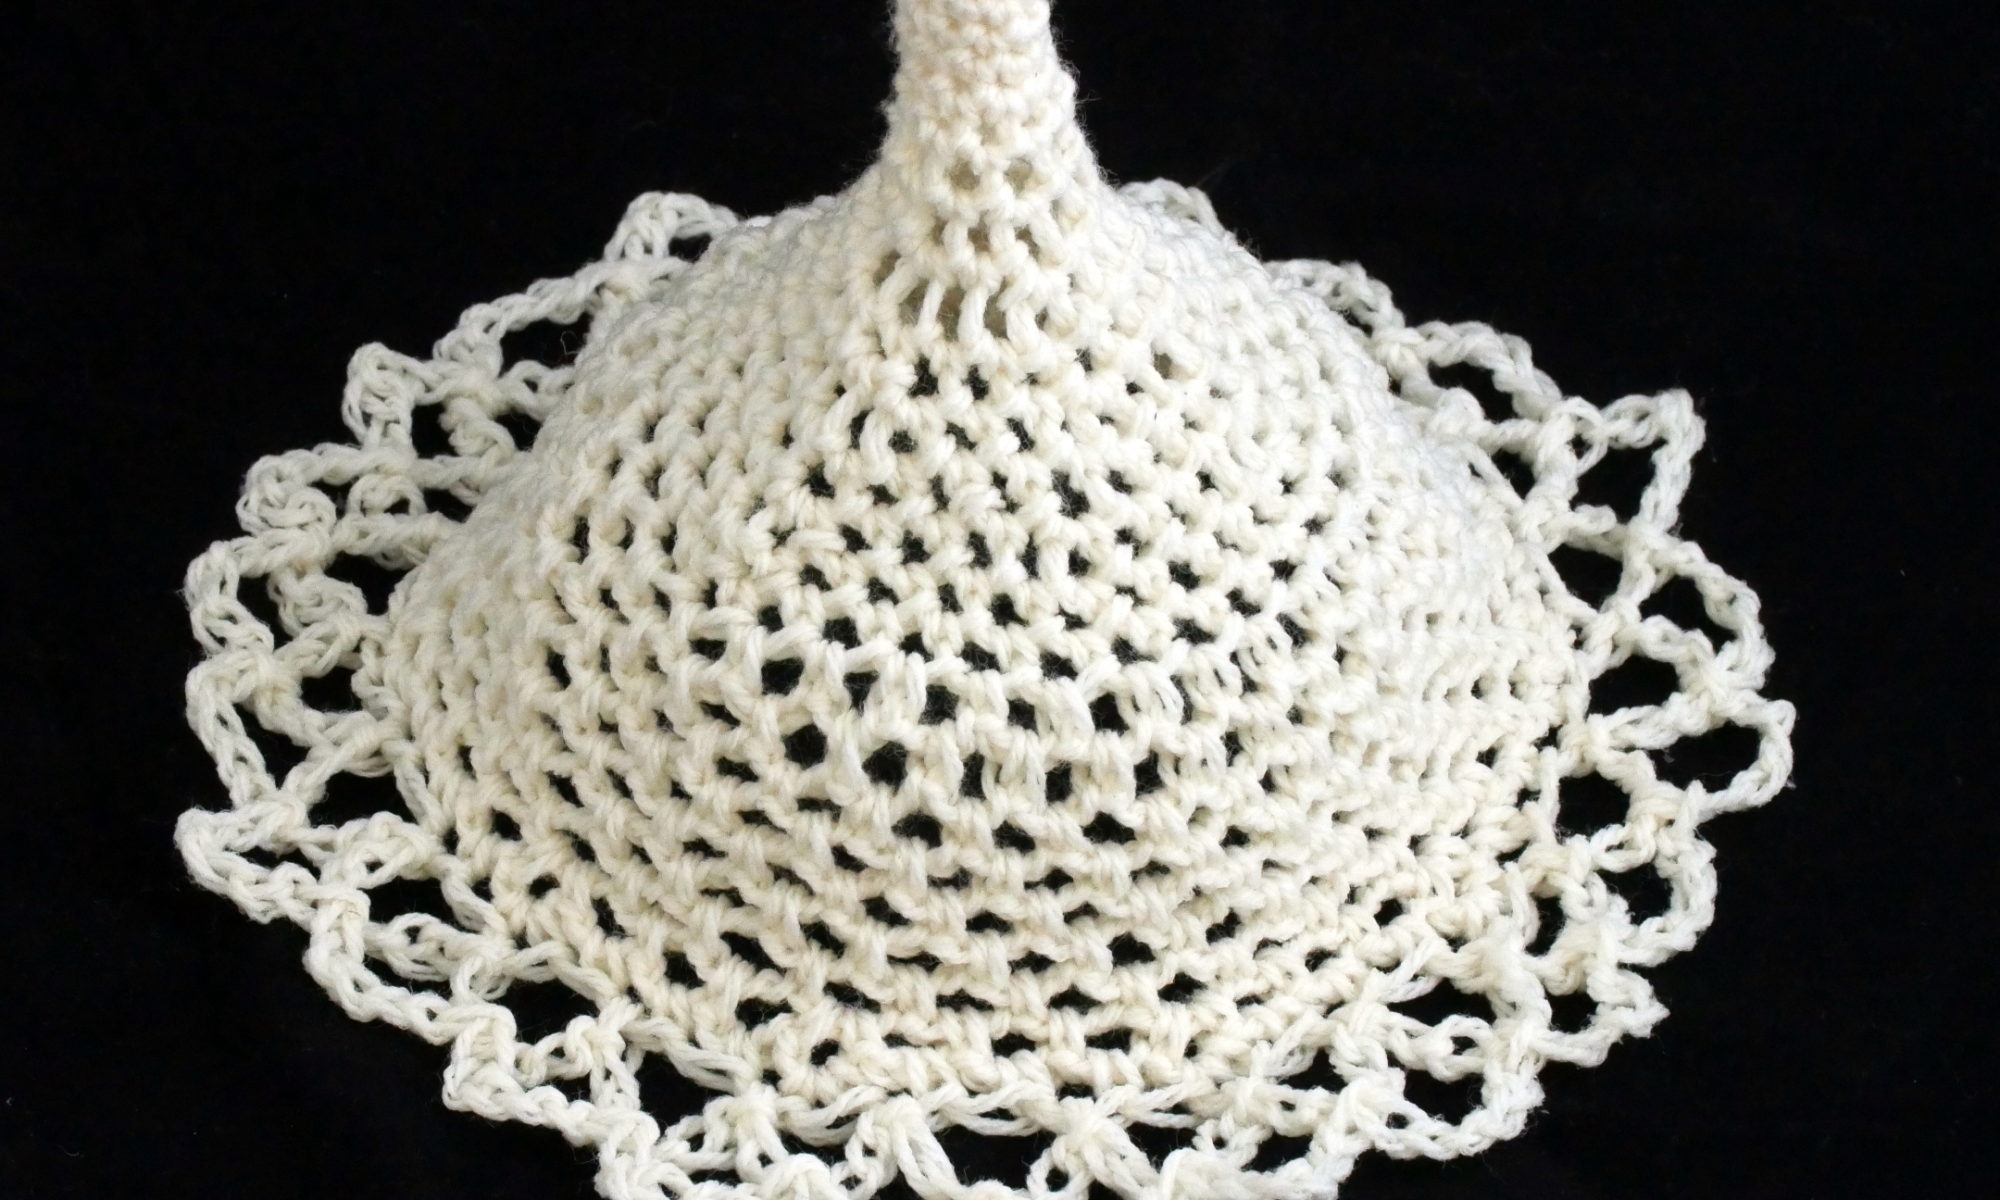
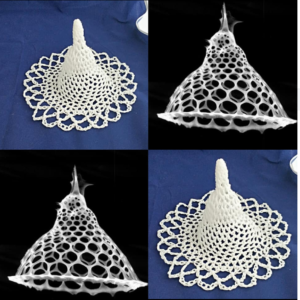
Here’s what we’ll be making, along with the image that inspired my design.
 (image from dorabella-ommo.blogspot.com)
Skill level: easy- intermediate
Skills needed: basic crochet
Materials needed:
- white or off-white yarn
- three sizes of crochet hook (sizes aren’t too important, but the biggest one should be a lot bigger than the smallest one. I used 3.25 [US D, UK 10], 5.5 [US I, UK 5], and 10 mm [US N, UK 000] hooks.)
- white glue or starch
- blocking board for knitting, or a clean sheet
- rust-proof straight pins
- a few bowls and bottles of varying sizes for shaping the radiolarian
Let’s get started!
1. With smallest hook, crochet six single stitches in a magic circle. Sl st last st to first st. Cinch tight (6 stitches)
2. (Inc, sc) * 3. (9)
3-5. Sc around. (9)
6. Switch to the next size of hook – I used a 5.5 mm. Sc around (9).
7. Sc around. (9)
8. Switch to largest hook – I used 10 mm. (Inc, sc, sc) * 3. (12)
9. (Inc, sc) * 6. (18)
10, (inc, 2sc) * 6. (24)
11. Sc around. (24) Here’s what our radiolarian looks like at this point. 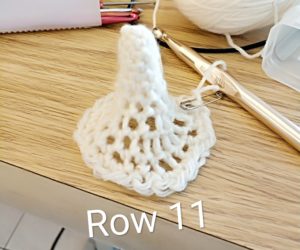
12. (Inc, 3sc) * 6. (30)
13-14. Sc around. (30)
Beginning of chain section. Switch back to small size size hook.
15. Sl st into first st of round. (Chain 3; sc into following st) around. (30 sections of chain 3 segments)
16-23. (Chain 3, sc into next chain section) around.
24. (Chain 3, sc into SAME chain section for an increase, [chain 3, sc into next chain section] * 2) * 10.
25. Switch to largest size hook (10 mm). One row break from chain section. (Inc * 2 into one chain section, [sc into next chain section] * 3) * 10.
26. Final chain section. (Sl into first stitch, chain 5, skip next stitch, sl st into following) around.
27. (chain 5, skip next stitch, sl st into following) around. Finish off and weave in end.
If you want to make the radiolarian stand up and hold shape, you’ll need to use a stiffening solution. There are several ways to do this, such as by diluting white glue with water or by cooking a starch solution. You can find instructions for making a stiffening solution here: https://craftingagreenworld.com/articles/diy-natural-fabric-stiffeners/
Once you’ve made the solution and let it cool enough so you can touch it, immerse the radiolarian form fully in the solution. Let it sit and soak for about a minute. In the meantime, prepare a clean area where you can stretch it over a mold and pin it down. I like to use a blocking mat for knitting. Assemble a few different shapes that will fill out your radiolarian. I used a bowl with a little bottle on top of it to fill the tip of the radiolarian.
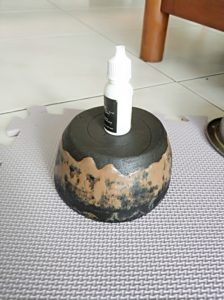
Stretch the radiolarian over the shapes, fan out the lacy edges, and pin the edges down with rust-proof straight pins.
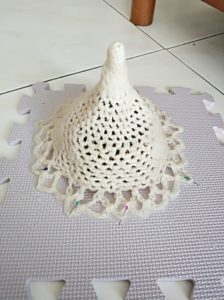
Let the form dry, under a fan if necessary, unpin, and detach the radiolarian carefully from the shapes and blocking board. Good job!!
